You Will Need
Fabric and curtain heading tape
Metal measuring tape
Good dressmaking scissors
Sewing machine
Thread
Needle
Pins
Pencil
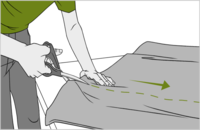
Step One: Measuring & Cutting The Curtain
Measure all the curtain lengths, marking them with pins or a pencil. On patterned fabric, choose one main point in the design and mark off each length starting at this point. Cut out all the lengths.
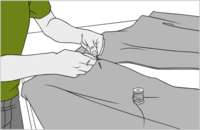
Step Two: Joining Widths
If you need to join widths to make up each curtain, pin the fabric pieces together along the selvages (the finished edges of the fabric that won’t unravel) with right sides facing. If you have an odd number of fabric widths, cut the 'odd' piece in half lengthways and pin one half to the outside edge of each curtain. Stitch the pieces together, taking in a 2.5cm seam. Press the seams open and snip into the selvages at 45cm intervals so the seams won't pucker when the curtains are washed.
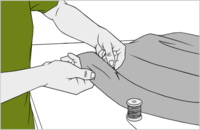
Step Three: Hem The Sides
Turn under a double 2.5cm hem at the curtain sides and press. Use a large hem stitch to sew the curtain sides by hand.
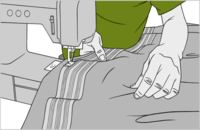
Step Four: Stitch On The Heading Tape
Turn under 3cm at the curtain top and press. Knot the cords at one end of the heading tape. Pin the tape close to the top of the curtain, fold under the short edges of the tape and hiding the raw fabric edges. Machine stitch along all the edges of the tape. Draw up the tape to fit the window and knot the cords.
Step Five: Hem The Length
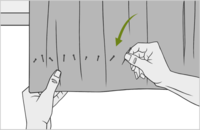
Temporarily hang the curtain by a few hooks and mark off the desired length with pins. Take down the curtain and turn up a double hem to the marked length and press. To make a neat finish at the lower corners, open out the folds at the sides (unpick the side hem you've already sewn), and the hem. Fold in the corner at an angle, then carefully refold all the turnings to make a 'mitred corner'. Hand-sew the hem and the mitre (you can use the machine if you’re in a hurry).

0 komentar:
Post a Comment